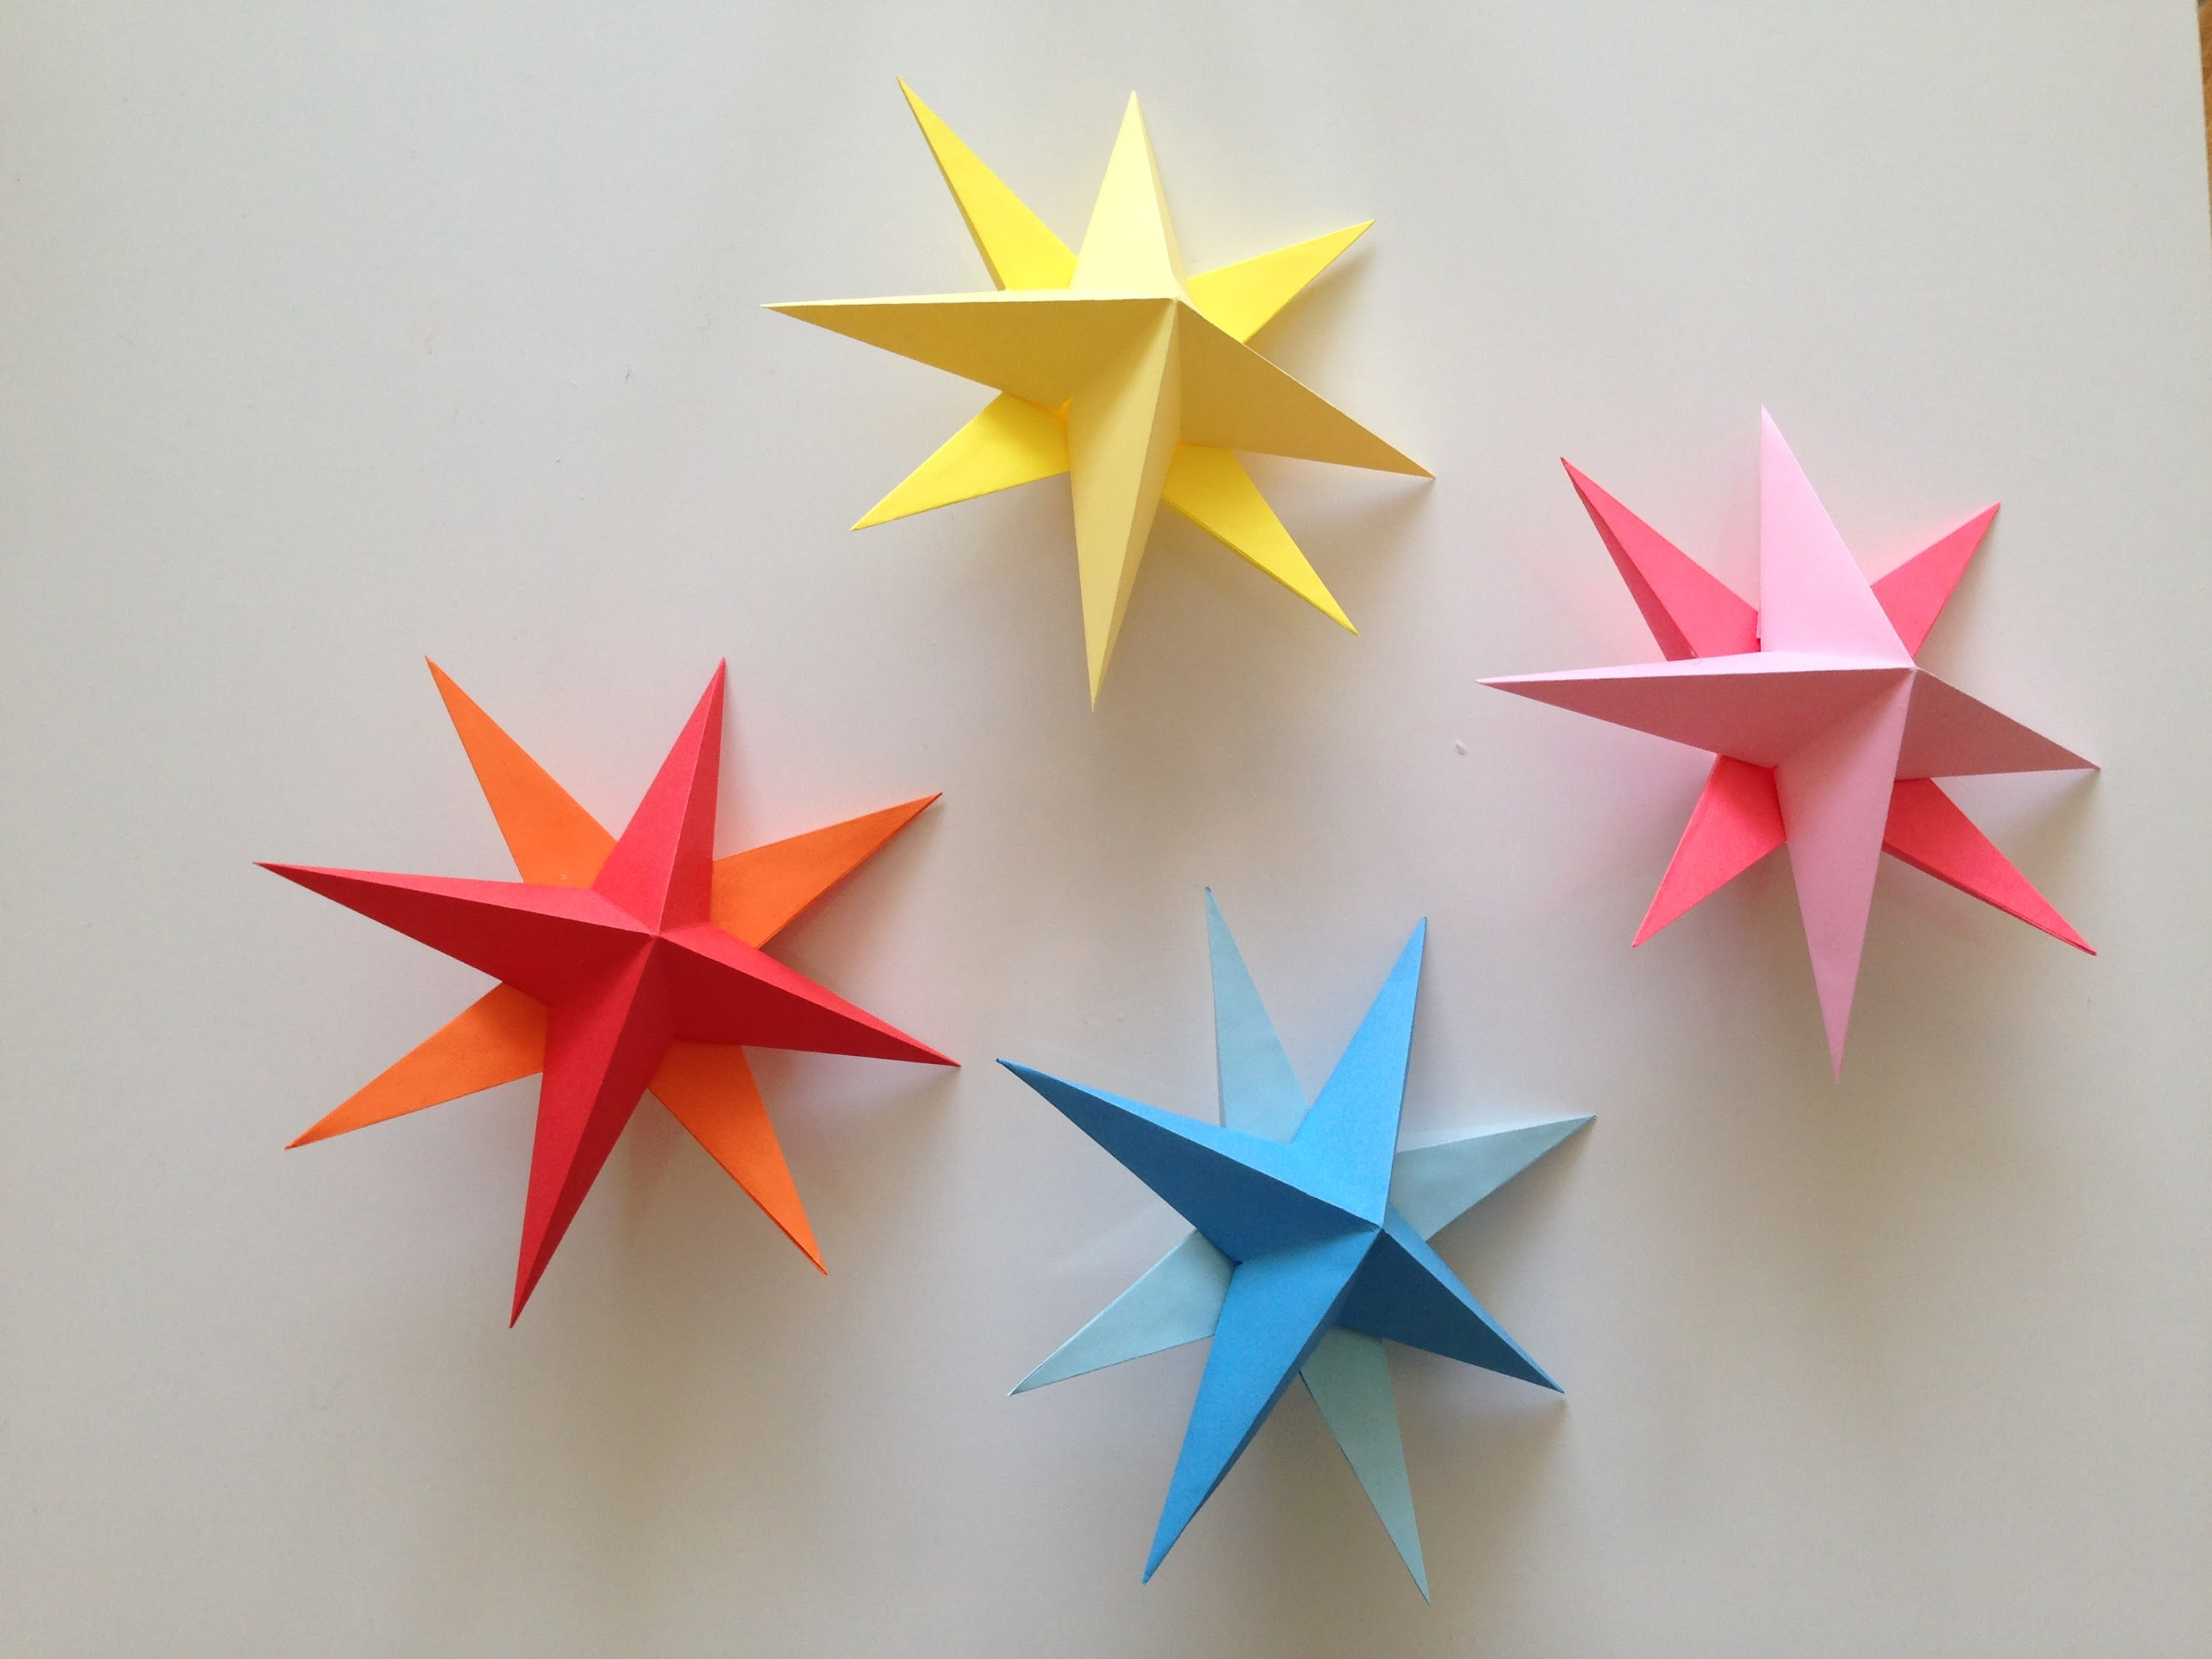
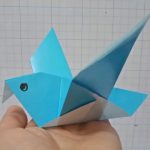
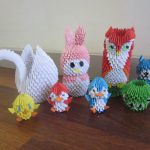
Super cute rabbit animals can also be created from paper. Let’s see how to make a rabbit origami 3D easy!
The materials
Prepare a square sheet of paper and markers.
The steps
- Fold the paper into two symmetrical rectangular sections.
- Reopen the folds
- Fold the bottom and top side towards the folding line
- Fold 2 into a square shape with open parts inside.
- Open the last fold. Make folds of right triangles with feet at each end.
- Reopen the folds of the 4 triangles. Make it into an isosceles triangle.
- Move the newly folded rhombus shape to the closed back.
- Turn to the open section again. Then make a triangle fold from the tip to the middle.
- Drag and fold the newly formed small tip parallel to the open line. This is the head of the rabbit.
- Fold 2 along the open fold line.
- Pull the rabbit ear upwards while the other finger rests on the body.
- For the back of the body, place the left-hand finger in the middle of the second square to hold the open part. Meanwhile, the right-hand finger pushes the back inward.
- Now, hold it in the middle of the newly formed fold. The right-hand finger again pushes the bottom until the toe is parallel.
- For the rabbit’s mouth, match one side of the mouth that is open. Then pull and bend into the other part.
- Let’s make the ears wide! Hold the part near the rabbit’s forehead, while opening the ears.
- As a solution, draw a rabbit’s eyes and nose with a marker.
- Well, this adorable rabbit is finished.
Those are the ways to make origami 3D easy.
