Well, after you have known what the kusudama is, you also need to know how to make it. Then, this article will inform you about the origami kusudama tutorial.
The materials
You need to prepare:
- 5 rectangular pieces of paper (eg Post-it paper)
- Glue (liquid white glue or stick glue)
- Paperclip
The ways
Then, follow these ways!
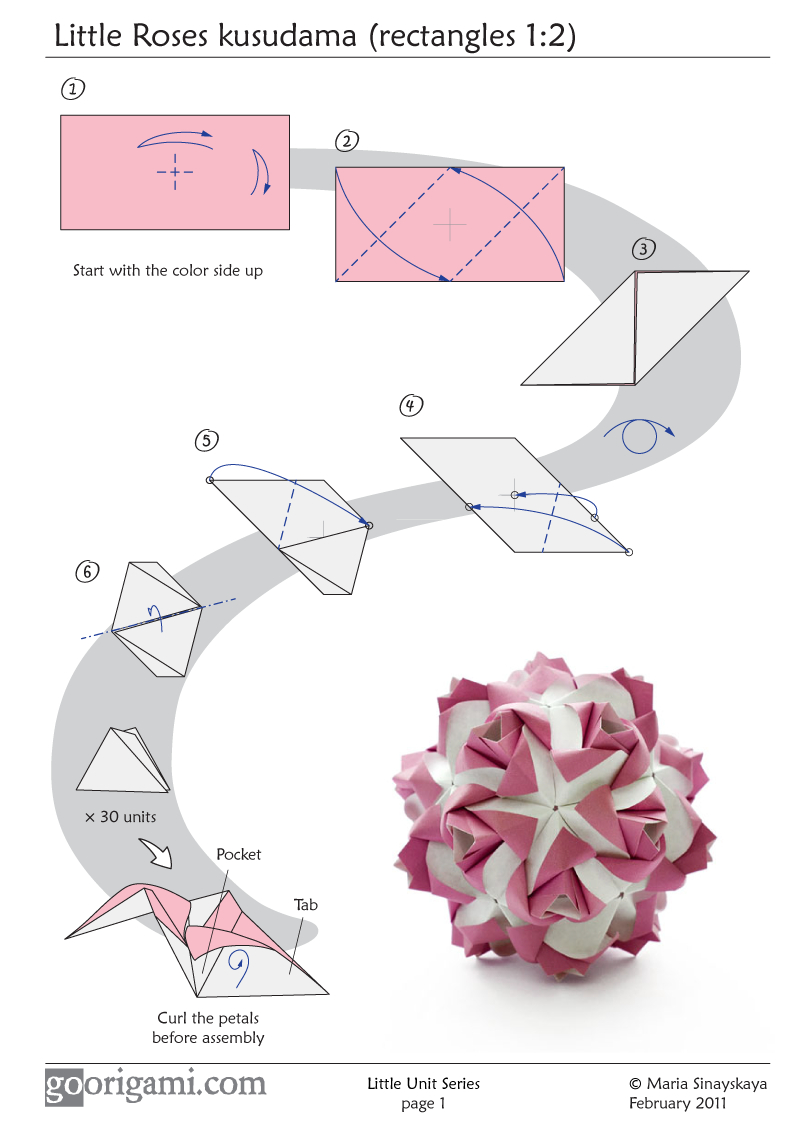
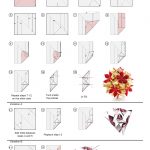
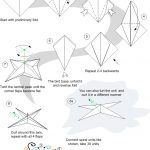
- Fold the rectangular paper diagonally into two parts. The result will be a triangle.
- Fold the two bottom corners of the triangle to the top corner. Now your paper will form a rectangle.
- Fold the triangles outward.
- Open the triangle you fold in the previous step.
- Turn the paper over.
- Fold and insert a triangle that sticks out on the left side, inward.
- Repeat the steps above in the triangle on the right.
- Turn the paper over again.
- Fold the left and right corners inward, following the existing fold.
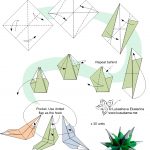
- Glue the top fold. Use stick-shaped glue to dry faster, but you can also use liquid white glue.
- Tape the two top folds to each other, give them a pin so that the paper doesn’t come off before it dries.
- Make four florets that are exactly the same.
- Glue the center of the bud.
- Glue each flower. All of these florets will form five kusudama flower petals.
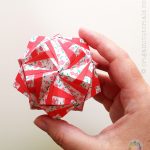
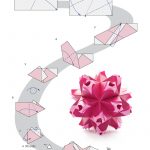
- Glue everything until the petals form one whole flower.
- Use paper clips to hold each petal from shifting from its position.
- Wait for the glue to dry completely before the paperclip is removed.


So, that is the last of origami kusudama tutorial. Try it and good luck!