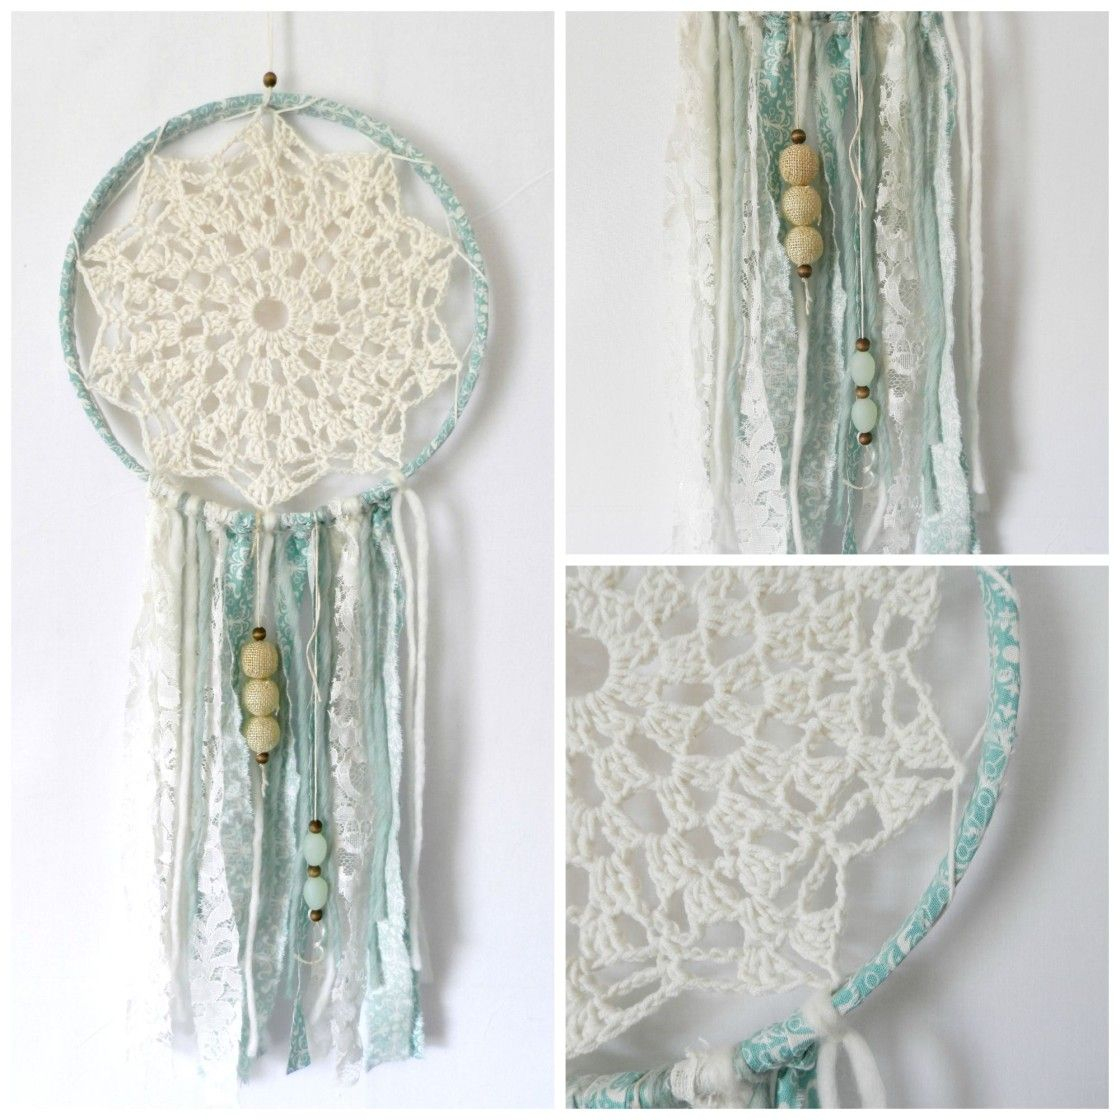
Today, you do not need to spend your money to buy dreamcatcher because you make it by yourself. This article will guide you to crochet dreamcathers DIY dream catcher. Notice the following explanations!
Tools and materials
The following are some of the tools and materials needed to make a dream catcher, including:
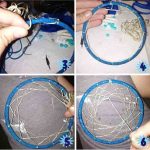
The top of a plastic cup
The top of a circular plastic cup we can use as a ring. The use of plastic cups is because it is easily found everywhere and costs nothing.
Yarn
The yarn used can be determined according to one’s own wishes.
Knitting needles
For knitting, of course, you need a needle so that the making becomes easy to do.
Scissors and cutter
Scissors are used to cut the thread and the top of the plastic cup while the cutter is used to tidy it up but can also only use one of them.
How to make a dreamcatcher
If the material is available, then the steps for making a dream catcher are:
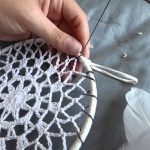
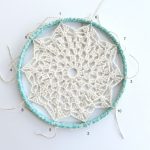
Because the ring used is circular, you only need to knit the circle with yarn. Tie the thread with one side short and one side long on the ring then wrap the long side on the finger, start knitting. If it has been covered before cutting off the thread so that the dream catcher can be hung or it can also be done at the end of the making.
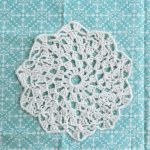
When the circle is closed, take the color of the thread you want to use to make the nets in the circle. Tie the thread to the circle that has been covered and then enter the thread through the gap that has been made until the inside end.
Fill the bottom of the dream catcher with thread ties. You can add knick-knacks to beautify the dream catcher.


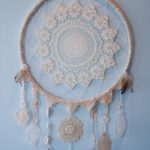

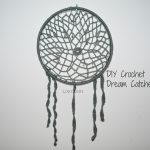


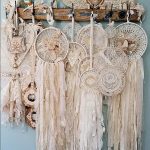
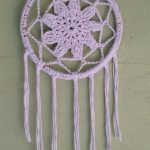
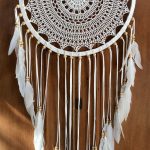
The dream catcher is ready for use. Those are the explanations to crochet dreamcatchers DIY dream catcher.