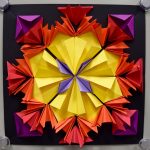
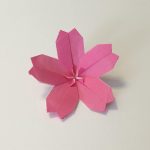
An origami art is very interesting. It will be more interesting when we try to make origami art projects paper sculpture. Then how to make it?
The Steps to Make Paper Sculpture
To make the paper sculpture, you have to:
- Start with a sheet of A4 paper (normal-size printing paper). You can use colored paper depending on the shape you will make.
- Start with the shorter side of the paper, fold it in half.
- Fold the other half.
- Fold the other half for the last time.
- Reopen the fold and turn so that the longer side is below.
- Fold half part.
- Fold the remaining half.
- Open the fold and cut the folded lines to get 32 boxes.
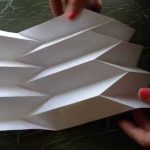
- Take one of the boxes and fold it so that the longer part is below.
- Fold half the part from the bottom up.
- Fold again from left to right but don’t press the fold too hard.
- Fold the right side of the paper to the fold line in the middle then do the same on the left side. At this time the shape of the fold looks like an upside down house.
- Flip the folds. Fold the outside.
- Fold 2 top to bottom. At present, the triangle is folded.
- Fold it in half, and now you’re done.
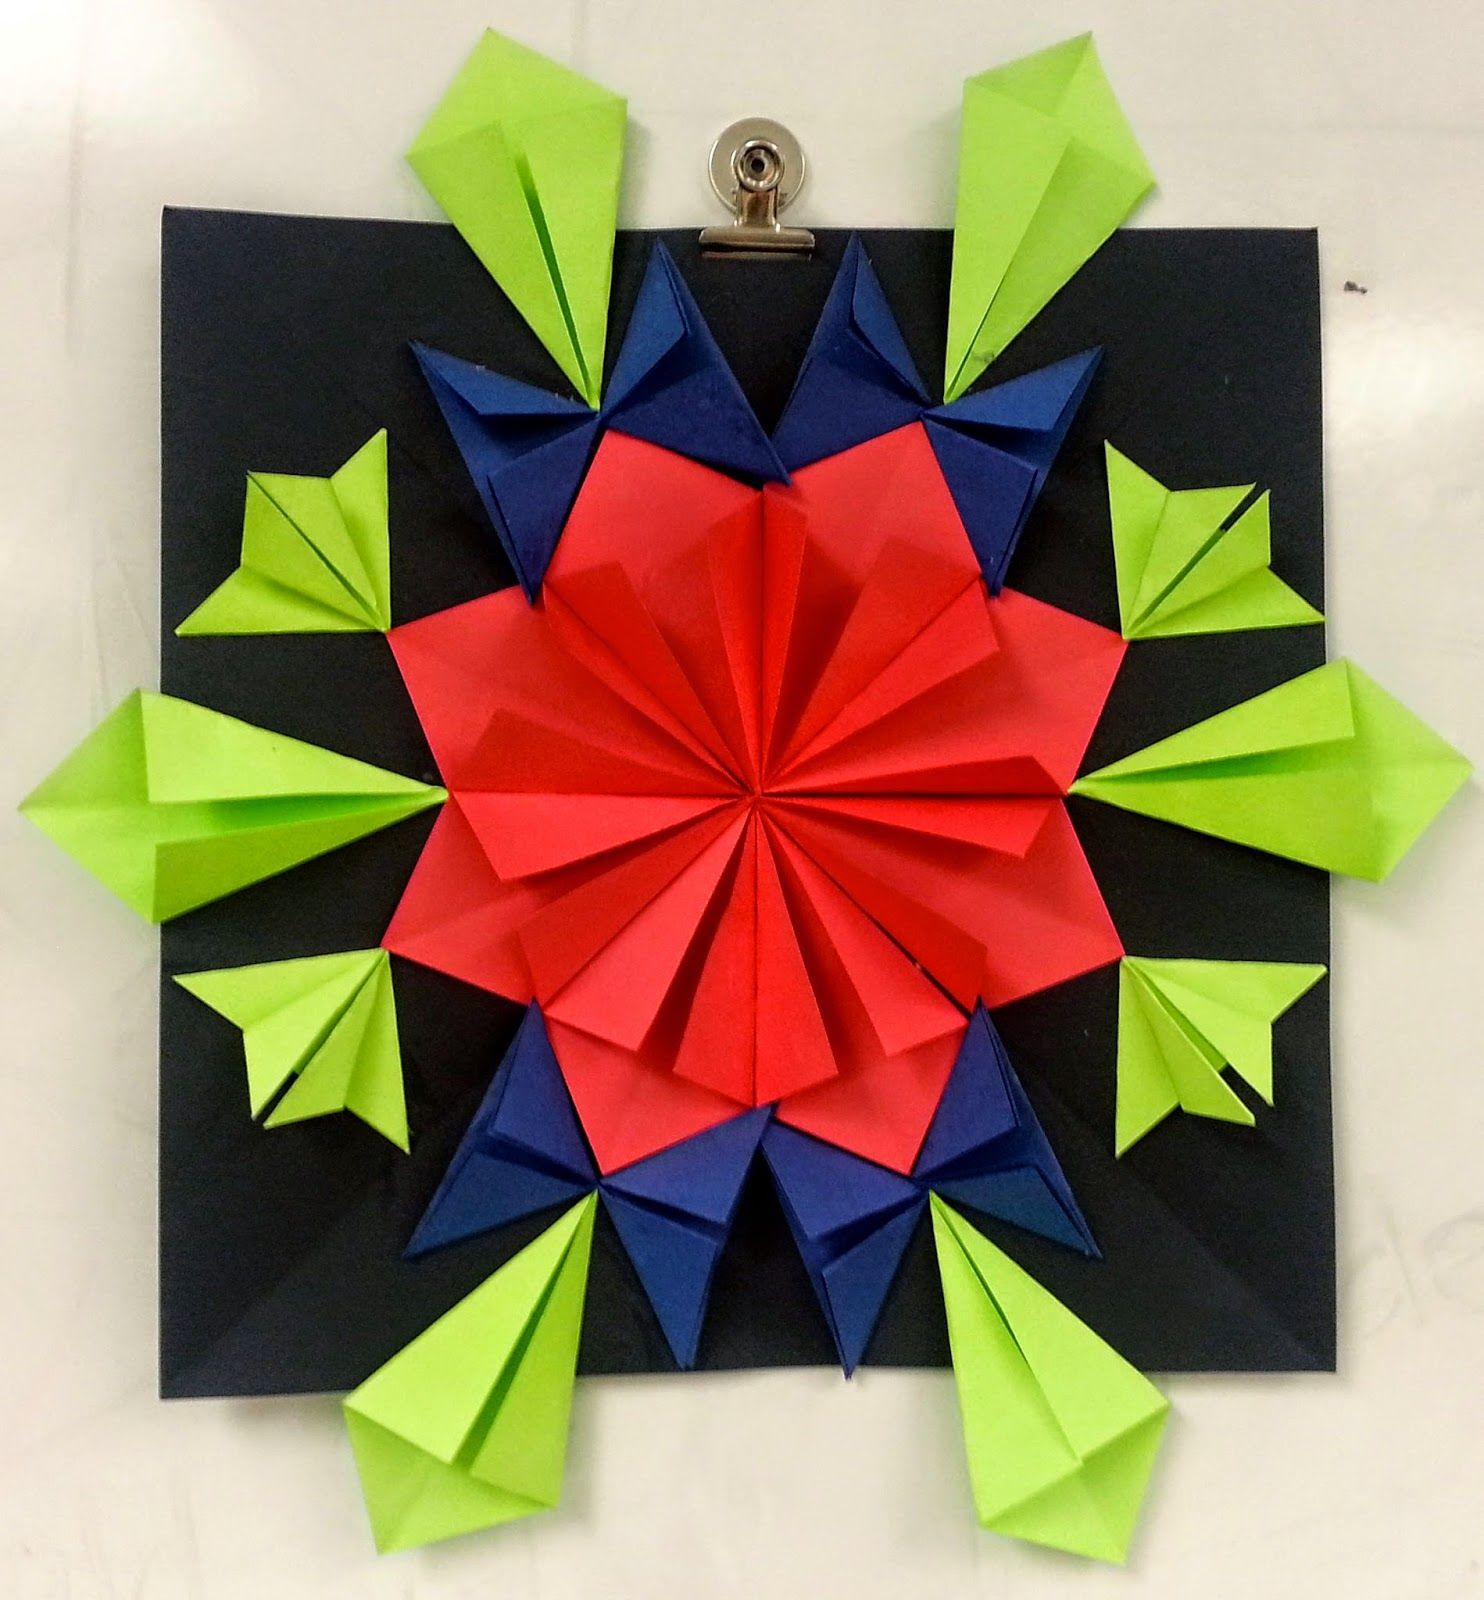
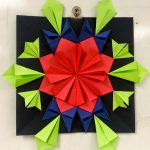
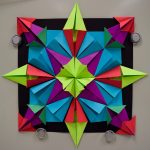
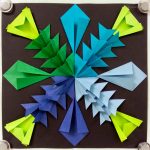
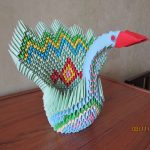
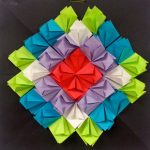
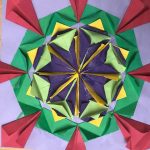
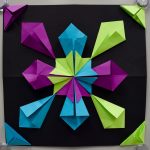
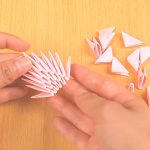
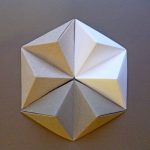
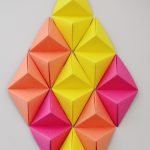
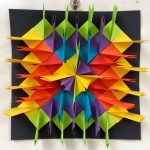
- Once you make lots of triangles, arrange them when needed.


Tips
In order you finish your paper sculpture well, follow the tips below!
- If you have a cutter/razor, use it! Razor will make the cutting process faster.
- Arrange triangles and paste them one by one.
- Be patient. The folding-folding process is the longest process in making Origami 3D.
- Save the triangle in a box so it doesn’t disappear.
- Don’t fold too hard. The triangle will look better if folded slowly.
- Let the parts stick a few hours to make the hole bigger so that it is easier to form.
Those are the ways and tips to make the origami art projects paper sculpture.